
Edit: The PIM PowerShell module has been deprecated now, and you need to use the Graph API to elevate PIM roles.
—————————————————————————————————————
I’ve done some work recently with Azure AD Privileged Identity Management, and I wanted to find a way to streamline the request process for an administrator who needs to run some PowerShell scripts or commands so that the whole request/approval process can be simplified and streamlined.
Enabling Privileged Identity Management
Note that if you haven’t activated or configured PIM for your tenant yet, you need to have Azure AD Premium P2 to enable and use this feature.

If you don’t have Azure AD P2 on your tenant, you can add a 30 day trial that will allow you to configure PIM and start checking out the functionality. You’ll need to assign the AAD P2 license to everyone that needs to interact with PIM – both approvers and requesters. After you’ve activated AAD P2, come back and refresh the PIM sign-up blade, and complete the sign up process.

Activating a Privileged Role – GUI Style
Once you roles have been assigned and configured, you would typically need to navigate to the Azure Portal (https://portal.azure.com/#blade/Microsoft_Azure_PIM/CommonMenuBlade/QuickStart), then to the PIM blade, and then click on your eligible roles, and then click through the Activation process.

After the request has been submitted, you need to wait for approval – or you can start working if auto-approval is configured for that role.
PowerShell and the PIM Module
Thankfully, we can use PowerShell to automate this request process – it takes a few moments to install the PIM PowerShell module due to it being published on the PowerShell Gallery.
From an admin prompt, run the following command:
Install-Module Microsoft.Azure.ActiveDirectory.PIM.PSModule
Once the module is installed, you can view all your available commands using Get-Command:
Get-Command -Module Microsoft.Azure.ActiveDirectory.PIM.PSModule
There’s not that many commands included in the module, but we still have all we need for this little task of ours:

Now that you’re all ready to go, connect to the PIM Service using Connect-PimService. The connect command supports both the -credentials and the -username switch.
Using -credentials allows you to capture and store the admin creds and connect using basic authentication:
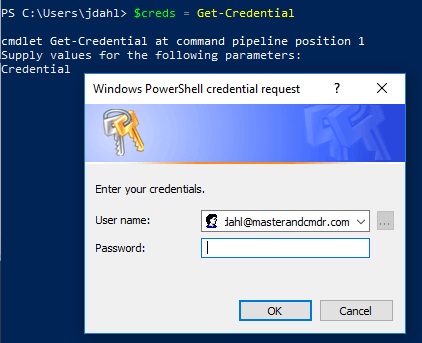
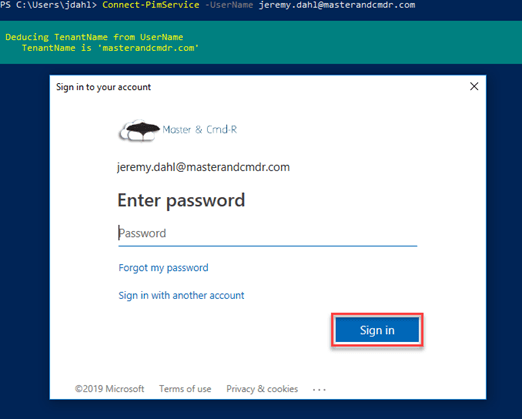
The –username switch will start the connection process using modern authentication.
Don’t forget that you’ll need to use the Modern Auth path if you have MFA enabled on your account, but you can still use basic auth if there’s no MFA in the picture.
Now that we’re connected, get a list of all the privileged roles assigned to you by running Get-PrivilegedRoleAssignment.

Putting it all together
Ok, now we have all the pieces we need, let’s apply this process to a real-world scenario. Let’s say I have a number of Exchange scripts that I use on a regular basis, and I don’t want to go in to the Azure Portal to request elevation every time I need to run a script. Simply incorporate the following commands into your Exchange scripts:
# Connect to the PIM Service
Connect-PimService
Connecting like this will open an interactive auth window for you to type in your username and password (Modern Auth) – don’t forget to add the -username or -credentials if you want to reduce the typing you need to do when authenticating.
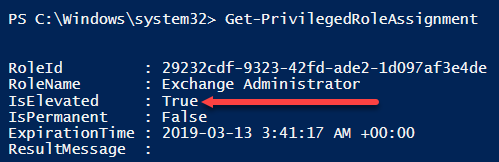
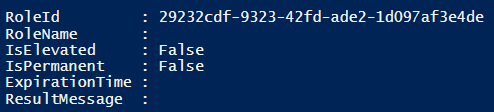
From the list above, we already know that the role ID for Exchange Administrator is 29232cdf-9323-42fd-ade2-1d097af3e4de, so we’re going to use that in our elevation request:
Enable-PrivilegedRoleAssignment -RoleId 29232cdf-9323-42fd-ade2-1d097af3e4de -Reason “I need to update transport rules”
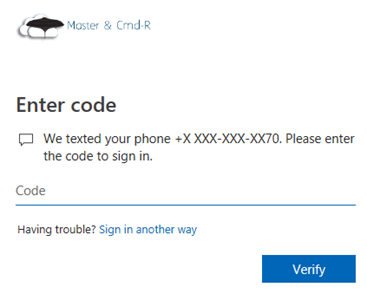
You can easily update this command to use target whatever RoleId you need to activate, and even provide your reason at the same time. Since we’re activating an admin role, you’ll be prompted for MFA (another setting you can configure in PIM):
If you’re curious to check, you can now verify that your role has been assigned, and you can initiate your Exchange connection:
When you’re finished running your scripts, you can easily disable your Role Assignment like so:
Disable-PrivilegedRoleAssignment -RoleId 29232cdf-9323-42fd-ade2-1d097af3e4de
You don’t have to add the disconnect piece if you don’t want to, since your admin access should be configured to age out automatically – I just like the idea of holding to the Just In Time ideology, and disabling my elevated role as soon as I’m finished my tasks. This reduces your risk even further, as your admin access will only be assigned for the duration of your scripts, and then your account goes back to normal right afterwards.
Nice and clean, nice and quick! 😀

Is there a command to approve the PIM request via powershell as well?
LikeLike
Unfortunately, there isn’t any – not that I’ve been able to find at least!
LikeLike
Is this this working? I get an error after:
Get-PrivilegedRoleAssignment
saying basically nothing
LikeLike
It looks like this cmdlet has been deprecated, and you need to use the Graph API now: https://learn.microsoft.com/en-us/azure/active-directory/privileged-identity-management/pim-how-to-activate-role#activate-a-role-using-microsoft-graph-api
LikeLike