This is the second of three posts detailing how to create new users in a Hybrid environment. In this case, it was Exchange 2010 on premise, Hybrid to Exchange Online, with ADFS / DirSync, and SSO. There was some confusion with the Help Desk staff on how to manage their environment going forward, so I created this documentation for them. This procedure has worked well going forward, so I thought I’d post it in case anyone else found it useful.
Part 1 details how to create a new user starting in Active Directory, and is available here.
Creating a New User (Remote Mailbox)
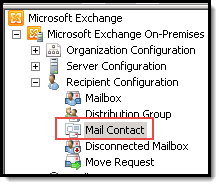
Start in Exchange Recipient Configuration, under Mail Contact:
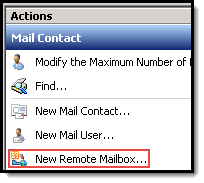
Create New Remote Mailbox:
Choose new User Mailbox, and click Next:

Next, you need to select the option to specify an OU
rather than using a default one, and click Browse:

Select the correct OU, and then click OK:
Fill in the rest of the user information making sure to select their routable domain (or email address) as their UPN, and click Next:

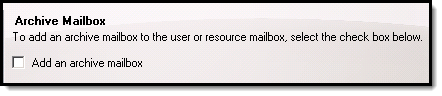
Add an Archive Mailbox if required:
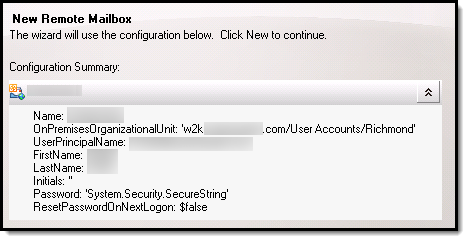
Check over the configuration summary, and then click Next:
Once the process completes, click Finish:
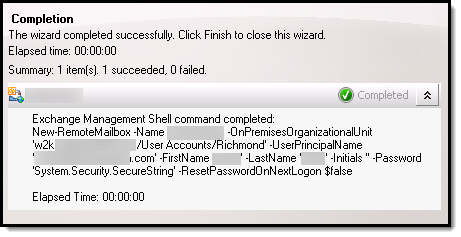
You’ll notice now that the user account has the proper routing address assigned now:

Go ahead and force a sync if required, or wait for a few hours for the account to show up online:
You can manually push a sync of the directory by going to the DirSync server, and performing the following steps:
- Open PowerShell (Run as Administrator)
- CD to “C:Program FilesWindows Azure Active Directory Sync”
-
Run .DirSyncConfigShell.psc1

-
Type in Start-OnlineCoexistenceSync and hit Enter.

Go back to Office 365, and the user should show up now:

Click on the new user to activate their licenses and a mailbox:

As I mentioned in my last post, the only license required to assign a mailbox to a user is an Exchange Online Plan – Office 365 still maintains the granularity that allows you to give users only what they need / is assigned to them. Of course, if you need your users to have all the Office 365 options, just click the plan name at the top, which will check all the boxes underneath.
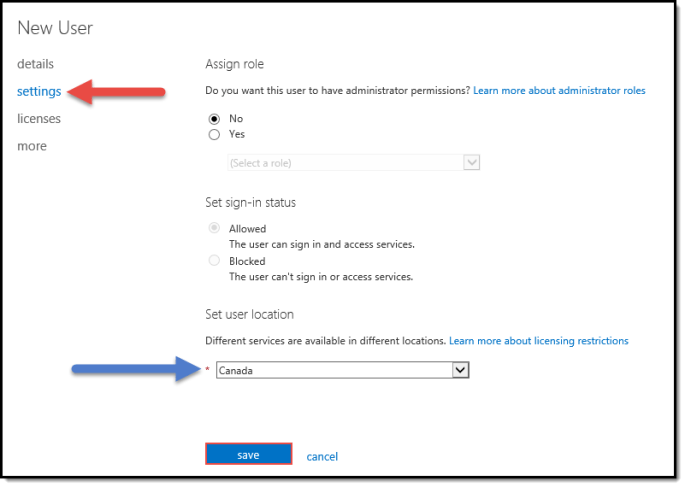
Next, click on settings, and set their location, then click Save.
It’ll take a few minutes for their mailbox to provision in the cloud – once it’s fully provisioned, you can go ahead and connect their account to Outlook
